How to Install Packages on Ubuntu and Debian
Installing packages on Ubuntu and Debian usually means using apt, the command-line package manager that installs software from trusted repositories.
The normal beginner workflow is simple:
sudo apt update
sudo apt install package-name
That first command refreshes your package list. The second installs the thing you asked for. If you are coming from Windows, think of it less like hunting for random .exe files and more like using a built-in software catalog that also handles dependencies, updates, and removal.
For help desk techs and beginner sysadmins, apt matters because package installs show up constantly: installing troubleshooting tools, patching vulnerable packages, adding agents, removing broken software, or verifying whether a server has the right utility available. It is one of those skills that feels basic until a ticket says “install this on the Linux box” and everyone quietly looks busy.
The short version
Use these commands most of the time:
sudo apt update
sudo apt install htop
apt search htop
apt show htop
sudo apt remove htop
sudo apt autoremove
What they mean:
apt updaterefreshes the list of available packages.apt installinstalls a package.apt searchlooks for packages by name or description.apt showdisplays package details.apt removeuninstalls a package but usually keeps config files.apt autoremovecleans up dependencies that are no longer needed.
Common beginner mistake: skipping apt update, then wondering why Linux says a package does not exist or tries to install an older version. The package list on your machine can get stale. Refresh it before installing, especially on a new server or VM.
What is apt?
apt is the package manager used by Debian, Ubuntu, and many distributions based on them.
A package manager does three important things:
- Finds software from configured repositories.
- Installs the software and its dependencies.
- Tracks what is installed so it can update or remove it later.
That dependency part is the big deal. If you install a tool that needs five libraries, apt can pull those in for you instead of making you collect files like it is 2003 and your download folder is a crime scene.
You will also see older commands like apt-get and apt-cache. They still exist and are common in scripts. For interactive beginner use, apt is usually fine and easier to read.
Examples:
sudo apt install curl
sudo apt-get install curl
Both can install curl. If you are following vendor documentation and it uses apt-get, that is not automatically wrong. It is just the older, script-friendly style.
Step 1: Update your package list
Before installing software, run:
sudo apt updateThis does not upgrade everything. It downloads the latest package information from the repositories your system already trusts.
You will see output like:
Hit:1 http://archive.ubuntu.com/ubuntu noble InRelease
Get:2 http://security.ubuntu.com/ubuntu noble-security InRelease
Reading package lists... Done
If this command fails, do not barrel ahead into apt install and hope. Read the error. Common causes include:
- No internet connection.
- DNS is broken.
- A repository is unavailable.
- The system clock is wrong.
- Another package process is already running.
For support work, this is useful signal. If apt update cannot reach repositories, you might have a network or DNS problem, not an application problem.
Step 2: Search for the package
If you know the package name, you can install it directly. If not, search first:
apt search disk usageOr search for a specific tool:
apt search htopThe output can be noisy, so you can combine it with grep:
apt search ssh | grep serverFor details about one package, use:
apt show htopThat shows information like version, dependencies, download size, homepage, and description.
Help desk scenario: a ticket asks you to install “the process viewer thing like top but nicer.” You might not remember the exact package name. Search for htop, confirm the package description, then install it. Better than guessing and installing three unrelated packages because the terminal made you nervous.
Step 3: Install the package
Install with:
sudo apt install htopsudo matters because installing software changes the system. A regular user usually cannot do that.
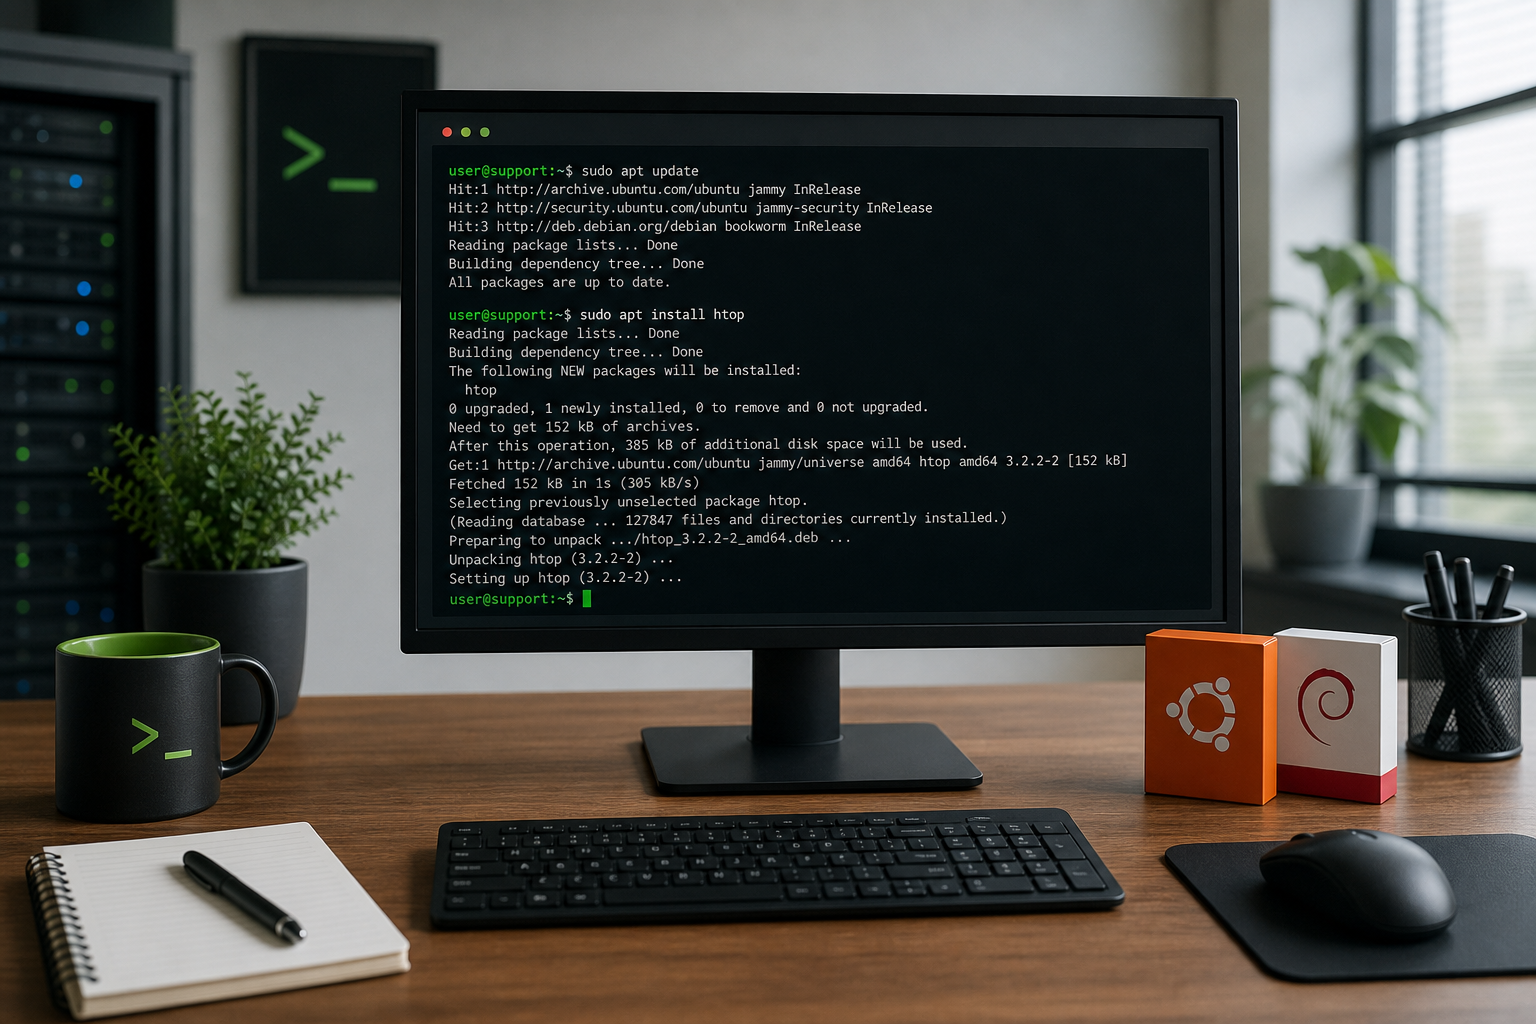
apt will show what it plans to install:
The following NEW packages will be installed:
  htop
Need to get 152 kB of archives.
After this operation, 387 kB of additional disk space will be used.
Do you want to continue? [Y/n]
Read this before smashing Enter. Most of the time it is boring. Sometimes it tells you the command is about to remove something important, pull in a surprising amount of software, or modify more than you expected.
To install multiple packages at once:
sudo apt install curl wget gitThat is handy when setting up a fresh troubleshooting box or lab VM.
Step 4: Verify the install
After installing, confirm the command exists:
which htopYou can also check the version:
htop --versionSome packages install a service instead of a simple command. For a service, check with systemctl:
systemctl status nginxOr:
systemctl is-enabled nginxBeginner mistake: assuming “package installed” means “service is running and reachable.” Those are different checks. Installing Nginx, starting Nginx, opening a firewall port, and confirming a browser can reach it are four separate things.
How to remove a package
To uninstall a package:
sudo apt remove htopThis removes the package but may leave configuration files behind. That is often what you want if you might reinstall it later.
To remove the package and its system config files:
sudo apt purge htopUse purge carefully. It is not scary, but it is more final than remove.
After removing packages, clean up unused dependencies:
sudo apt autoremoveAgain, read what it plans to remove. On a normal workstation this is usually fine. On a server, do not treat cleanup prompts like cookie banners.
How to upgrade packages
To upgrade installed packages after refreshing package lists:
sudo apt update
sudo apt upgrade
apt upgrade installs available updates without removing installed packages.
You may also see:
sudo apt full-upgradefull-upgrade can remove packages if needed to complete an upgrade. That is useful in some admin workflows, but beginners should be more cautious with it, especially on production servers.
Help desk rule of thumb: if this is your laptop or lab VM, learning by doing is fine. If this is a production server, know the change window, backup situation, and rollback plan before casually updating half the system because a forum thread sounded confident.
Common apt errors beginners hit
“Unable to locate package”
Example:
E: Unable to locate package some-toolTry:
sudo apt update
apt search some-tool
Possible causes:
- You typed the package name wrong.
- The package is not in your enabled repositories.
- Your system release does not include it.
- You need a vendor repository, PPA, or different install method.
Do not immediately paste a random curl | bash installer from the internet. Sometimes that is legitimate vendor guidance. Sometimes it is how you turn a normal Tuesday into an incident report.
“Could not get lock”
Example:
Could not get lock /var/lib/dpkg/lock-frontendThis usually means another package process is running. Maybe unattended upgrades are active. Maybe another terminal has apt open.
Check for package processes:
ps aux | grep -E 'apt|dpkg'If updates are legitimately running, wait. Killing package processes because you are impatient can leave the package database in a messy state.
“dpkg was interrupted”
If an install was interrupted, you might see:
dpkg was interrupted, you must manually run 'sudo dpkg --configure -a'The suggested command is usually the right next step:
sudo dpkg --configure -aThen run:
sudo apt update
sudo apt install -f
The -f means “fix broken dependencies.” Read the output before approving changes.
Apt vs Snap vs Flatpak
On Ubuntu especially, you may see Snap packages too. Debian users may see Flatpak depending on the system.
For beginner server and help desk work, start with apt when the package is available there. It is predictable, widely documented, and fits normal system administration.
Use Snap, Flatpak, vendor .deb files, or vendor repositories when:
- The software is not available through
apt. - The repository version is too old for your requirement.
- The vendor explicitly supports that install path.
- You are installing desktop apps rather than server tools.
The practical skill is not memorizing every package ecosystem. It is knowing how to verify what you installed, where it came from, and how you would remove or update it later.
A safe practice checklist
When installing packages on Ubuntu or Debian, use this checklist:
- Confirm you are on the right machine.
- Run
sudo apt update. - Search or inspect the package with
apt searchorapt show. - Run
sudo apt install package-name. - Read the install prompt before confirming.
- Verify the command, service, or version.
- Document what you installed if it affects a ticket or server.
That first step sounds obvious until you install a monitoring agent on the wrong SSH tab. Terminal tabs all look innocent right before they betray you.
Practice without risking a real server
The best way to get comfortable with apt is to practice the full loop: update, search, install, verify, remove, and troubleshoot simple errors.
Shell Samurai is built for exactly that kind of command-line confidence. You can practice Linux basics in a guided environment without treating a production server like your personal learning sandbox.
Practice Linux package-management basics in Shell Samurai.
Final takeaway
For Ubuntu and Debian, apt is your default tool for installing, updating, searching, and removing packages.
Start with:
sudo apt update
sudo apt install package-name
Then build the support habit that matters: verify what changed, read errors carefully, and do not run admin commands on autopilot. Linux is a lot less intimidating when you treat the terminal like a workbench instead of a panic room.
Practice Linux commands next
If you want these commands to actually stick, do not stop at reading:
- Start Shell Samurai Chapter 1 free and practice in a real terminal.
- Use the Linux commands cheat sheet as your quick reference.
- Browse more Shell Samurai field notes after you finish a mission.
- Comparing resources? See the Linux Journey alternative breakdown.
Practice This in a Real Terminal
Shell Samurai gives you safe Linux missions so the commands actually stick. Chapter 1 is free; the full practice path is a one-time purchase, not another subscription.